
In the video Thomas explains the installation of the Smart Track steering system. This is used on various Stellar kayaks.
All steps in the video

Thomas explains the individual installation steps in the video
All steps verbatim
- Insert the control unit into the receiving opening. Rotate counterclockwise about 100 degrees until the pin fully sinks. This connects and secures the unit.
- Insert the cable holders on the left and right, with the hole facing down. Turn the fastening rings through the openings.
- Guide the cables (left and right) through the openings from behind until they protrude from the opening next to the seat.
- Thread the cable through the wall-side opening on the steering pedal. Continue 180 degrees at the back of the roll.
- Lead the cable between the steering pedal and the footrest forward and continue 180 degrees in front of the footrest down.
- There is an opening at the end of the control bar. Pass the cable through here. A double knot prevents the rope from slipping back through the opening.
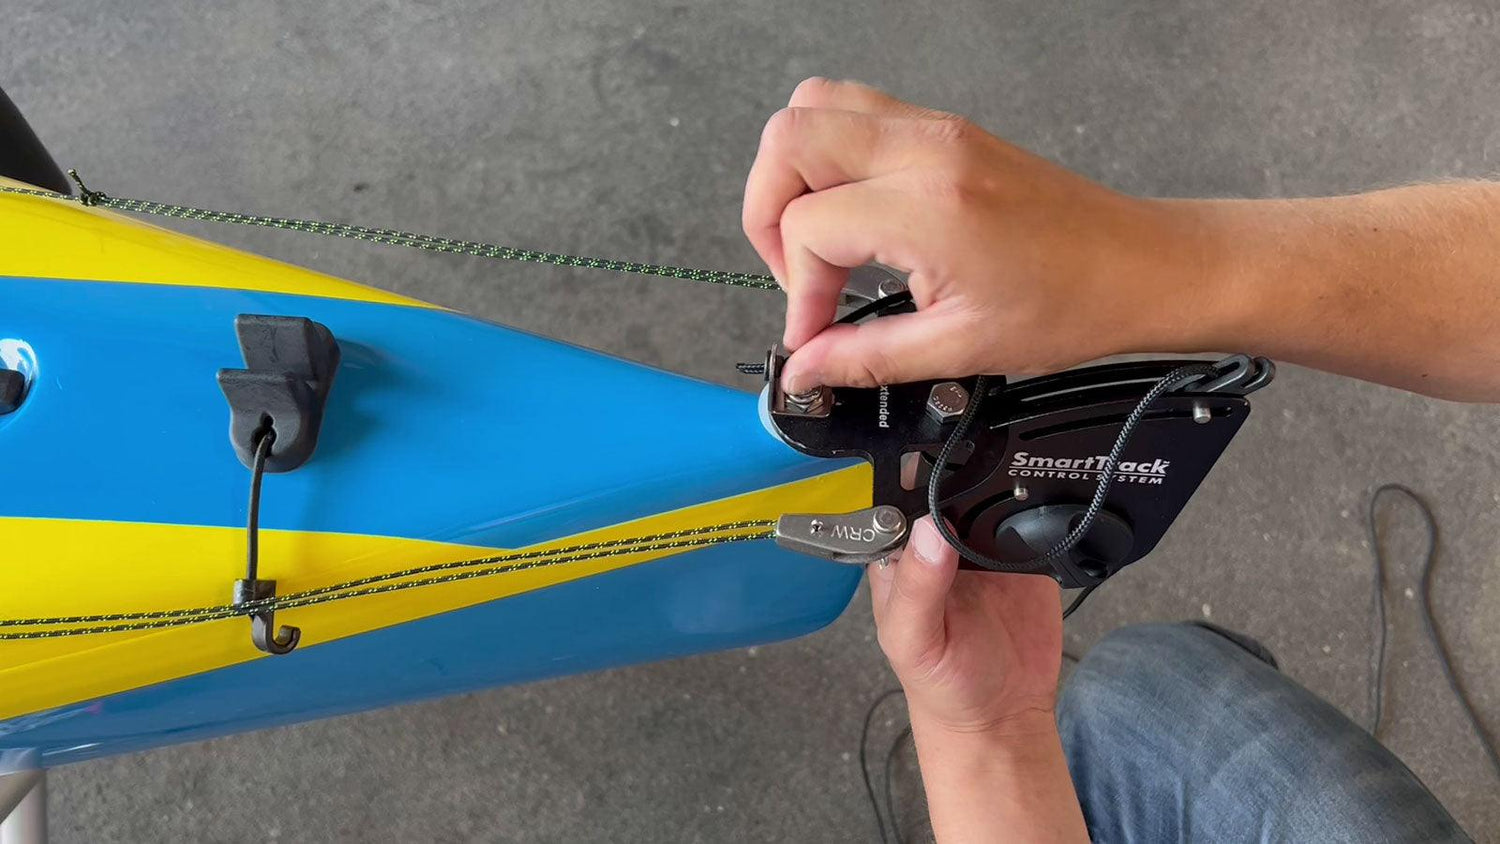
- Insert the cable in the direction of the control with a loop into the openings of the brackets and fix it with the small wedge inside the bracket. The wedge is fixed in position with the pins provided. Bend the pins apart at the bottom.
- Tie a knot at the end of the rudder cable. Lightly melt and seal the knot with a lighter. Insert the cable into the opening on the control blade.
- Thread the other end of the cable completely through the control unit openings.
- Insert the control blade into the control unit. The broader side of the blade points in the direction of the kayak. Push the bolt in the guide all the way up.
- While the steering wheel is now visible, slide the mounting bolt through the opening on the side with the 6 holes. With a turn to the right, a tension builds up that holds the rudder in the unfolded position. There are 2 elevations on the bolt, which can be accommodated in the holes in the control unit by applying further pressure.
- Put the metal clip on the other side of the unit through the stud to the end and fold over. This secures the control blade in the unfolded position and folds up when you pull on the control rope.
- Guide the control rope through the openings in the deck fitting to the seat.
- Fasten the rope clamp to the kayak with masking tape and drill through the openings and the kayak with a wood drill. Fasten the rope clamp with bolts and nuts.
- Shorten the rope to a length that is comfortable to operate the rudder. Seal the end of the rope and thread it through the ball handle. Fix with a knot and close the ball with the stopper.