Hardboard SUPs with a classic epoxy structure have a very long life expectancy if they are cared for appropriately, because you can easily repair them yourself should a hole occur:
There's a hole in the hardboard!
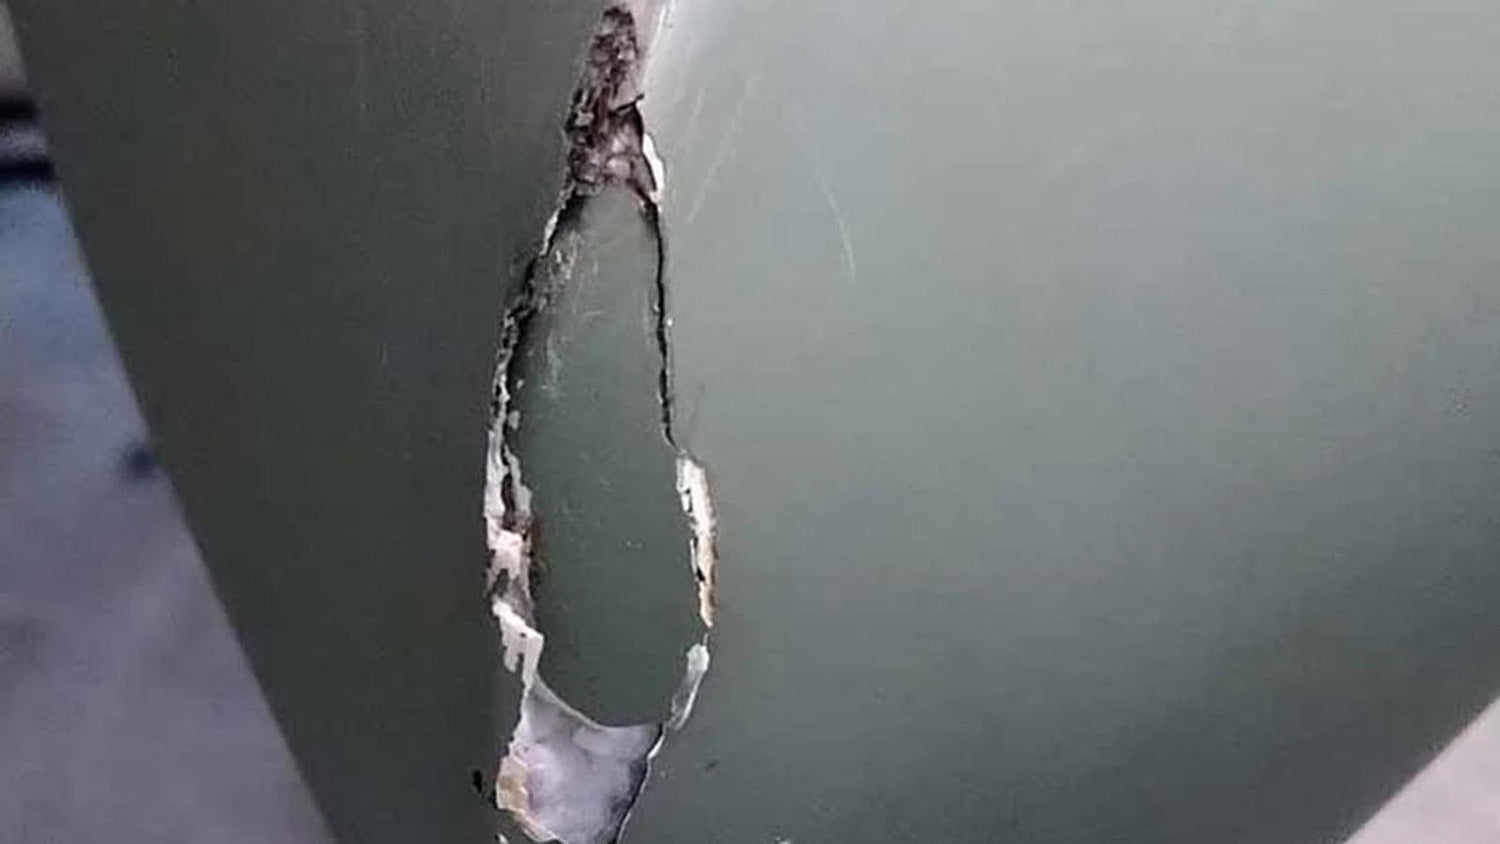
Unfortunately, it happened to our Ambassador Andy at an event: a participant hit a rock with the Lite Venture Cruzer Touring 12'6". The result: a hole in the nose area - the board needs to be patched!
You can see very well here that the hard shell of the board is thin: the layers of fiberglass and carbon are hardened and polished with epoxy resin in this construction.The carbon fabric achieves high rigidity with low weight. And to keep the weight down on such a long board, epoxy boards have a hard but thin shell that can give way when hit by bumps and sharp objects.
The white material inside the Boards is the foam core. It should be avoided that this absorbs a large amount of water in the event of damage. It is best to take the board directly out of the water and let it dry. If this is not possible and the journey home has to be started with the board , the area should be masked off if possible.
Required material
For the repair you need epoxy resin and hardener, a cup, a brush and sandpaper and a breathing mask (FFP2). Since the resin hardens and is not water-soluble, the brush and cup can unfortunately only be used once.
We recommend purchasing the following material:
- epoxy resin
- den suitable hardener from the same manufacturer
- Microballoons filler for stirring into the resin
- disposable cup and disposable brush
- spatula
- sandpaper coarse (200) and fine (800)
- respiratory protection mask FFP2 or FFP3
- Disposable gloves
- possibly matching paint
For larger damage, some fiberglass fabric can also be useful. A piece of fiberglass fabric creates the necessary hardening of the outer shell. The fabric feels like fabric and only hardens when processed with the epoxy resin:


Preparation:
The board must be completely dry. If the foam core has gotten moisture, leave it to dry open in a dry, warm room for a few days as a precaution. For repairs, it is best to place the board on wooden stands outdoors or in a garage. The subsequent sanding creates fine dust, the resin can "spill", so the repair should not be carried out in the living room. The ideal temperature range for processing the material is 18° to 28° degrees Celsius.
Fill up
Mix the resin with the hardener in the mixing ratio specified by the manufacturer. Depending on the extent of the damage, add filling material (microballoons), this makes the mixture more viscous and therefore easier to work with. The mixture should now be processed quickly - within about 15 to 20 minutes, as it then begins to harden. It is advisable to mask off the area around the damage. Fill in the filling compound with the spatula / brush. Remove excess material and smooth. Then let it harden.
In the case of major damage, a piece of fiberglass fabric should also be incorporated. To do this, first fill the hole and then place a suitably cut piece of fabric on top. Then brush this with epoxy resin + hardener without microballoons and let it dry.


Grind
Once the material has hardened, it can be sanded down. First use the coarse sandpaper for this, then work with the fine paper until everything is smooth. Be sure to wear a respirator during this process!

paint
The hardened and clean sanded area is now repaired, but it is still visible. Varnish provides additional protection and also makes the damage invisible, so varnishing is part of a clean finish. Either you achieve a color mixture that is as similar as possible or - like Andy in this example - choose a deliberate accent:
For this, the board must be clean and precisely masked so that the contours do not become blurred.


